Load a wider life!
Perfect for odd-shaped items of all kinds, large boxes, or anything you want to take with you on the go, it's the ideal platform for your cargo needs.
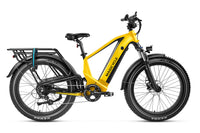
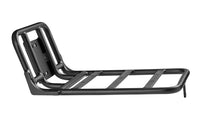
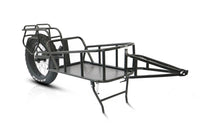
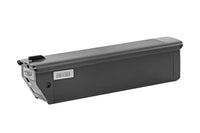
High-Quality Aluminum Alloy: The sturdy rear rack is made of aluminum alloy, black coated, durable, perfect for long-distance outdoor riding, and can carry goods up to 60 pounds (recommended not to carry too many goods to avoid accidents).
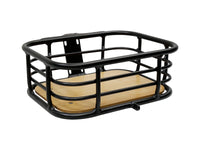
Ebike-specific Platform Rack: Specially designed to carry baskets, used with straps or other baskets to carry any cargo you need to carry, providing a convenient solution for carrying items on a bicycle.
Easy Installation: All necessary installation components are included, just place the platform rack on the rear bike rack and secure it with screws, it can be installed in minutes. If the pre-drilled holes don't fit, you can secure the shelf using the zip ties provided. Compatible with most electric bikes, anyone can install it easily.
Multiple Application: Our platform rack takes your riding to the next level and can meet most needs for everyday travel. Perfect for school, grocery shopping, picnics, and outdoor baskets. Whether you're going to the shops or on a short trip, it's the perfect companion on your ebike.
Usage Scenarios: The platform rack is perfect for market trips, outdoor sports, off-road cycling, summer picnics, etc. to make your journey easier. It looks cool even when there is no luggage on the loading platform. Please note: Bungee Cords Not Included.
SPECS
Color: Black
Material: Aluminum Alloy
Size: 15.75" * 15.75" / 40*40cm